Introduction
The following figure is the high-level block diagram for SDIO bridge solution.

SDIO bridge architecture
In this solution, host runs on Linux with an Ethernet interface, Ameba acts as an intermedium role to send data between host and AP. The topology of this solution is shown in Figure Data flow. Ameba connects to AP and gets an IP address by DHCP protocol from AP. Ameba and host use SDIO interface to communicate with each other and they share the same IP address, which is obtained by Ameba.
When the host needs transmit packets, these packets will be send to Ameba by SDIO interface with Ethernet format. Ameba will receive these packets from SDIO and forward them to AP by Wi-Fi. Meanwhile, if Ameba receives packets from AP, it will decide the destination of these packets by protocol type or TCP/UDP source port, then forward to host by SDIO or to Upper layer application on Ameba.
By default, the forward rules of packets from AP are DHCP, and TCP/UDP with specific source port numbers will be sent to Ameba TCP/IP stack, and other IP packets will directly send to host through SDIO. ARP request packet will sent to both Ameba TCP/IP stack and to host.
Usually, the host will create a TCP/UDP connection with Internet Cloud Service, and send heartbeat packets periodically to keep this connection alive. If the host needs to enter power-saving mode and still keep connection with Cloud Service, they can create another same TCP/UDP connection on Ameba upper layer application. The IP address and destination port are the same, the only difference is source port.

Data flow
Features
Features |
Description |
|---|---|
Wireless mode |
|
Wi-Fi Security Protocols |
|
Wi-Fi operation Mode |
|
Protocol offload |
When host suspend, it can offload processing of packets for certain protocols to device. The following protocols are supported:
|
File Architecture
The following figure shows the SDIO bridge related files which run at host.
wifi\cfg80211_fullmac -- >
       wifi\cfg80211_fullmac\rtl8730e -- >
                wifi\cfg80211_fullmac\rtl8730e\rtw_drv_probe.c
                wifi\cfg80211_fullmac\rtl8730e\rtw_ethtool_ops.c
                wifi\cfg80211_fullmac\rtl8730e\rtw_netdev_ops.c
                wifi\cfg80211_fullmac\rtl8730e\rtw_proc.c
                wifi\cfg80211_fullmac\rtl8730e\sdio -- >
                     wifi\cfg80211_fullmac\rtl8730e\sdio\rtw_llhw_event.c
                     wifi\cfg80211_fullmac\rtl8730e\sdio\rtw_llhw_event.h
                     wifi\cfg80211_fullmac\rtl8730e\sdio\rtw_llhw_hci.c
                     wifi\cfg80211_fullmac\rtl8730e\sdio\rtw_llhw_hci.h
                     wifi\cfg80211_fullmac\rtl8730e\sdio\rtw_llhw_memory.c
                     wifi\cfg80211_fullmac\rtl8730e\sdio\rtw_llhw_ops.c
                     wifi\cfg80211_fullmac\rtl8730e\sdio\rtw_llhw_ops.h
                     wifi\cfg80211_fullmac\rtl8730e\sdio\rtw_llhw_recv.c
                     wifi\cfg80211_fullmac\rtl8730e\sdio\rtw_llhw_trx.h
                     wifi\cfg80211_fullmac\rtl8730e\sdio\rtw_llhw_xmit.c
                     wifi\cfg80211_fullmac\rtl8730e\sdio\rtw_sdio_drvio.c
                     wifi\cfg80211_fullmac\rtl8730e\sdio\rtw_sdio_drvio.h
                     wifi\cfg80211_fullmac\rtl8730e\sdio\rtw_sdio_ops.c
                     wifi\cfg80211_fullmac\rtl8730e\sdio\rtw_sdio_ops.h
                     wifi\cfg80211_fullmac\rtl8730e\sdio\rtw_sdio_probe.c
                     wifi\cfg80211_fullmac\rtl8730e\sdio\rtw_sdio_reg.h
                wifi\cfg80211_fullmac\rtl8730e\sdio_bridge -- >
                     wifi\cfg80211_fullmac\rtl8730e\sdio_bridge\rtw_sdio_bridge_netlink.h
                     wifi\cfg80211_fullmac\rtl8730e\sdio_bridge\rtw_sdio_bridge.c
                     wifi\cfg80211_fullmac\rtl8730e\sdio_bridge\bridge_api -- >
                             wifi\cfg80211_fullmac\rtl8730e\sdio_bridge\bridge_api\rtw_sdio_bridge_api.h
                             wifi\cfg80211_fullmac\rtl8730e\sdio_bridge\bridge_api\rtw_sdio_bridge_api.c
Porting Guide
Hardware Configuration
Please connect RTL8721Dx to host with jumper cables as mentioned below.
Pin name |
Function |
|---|---|
PB_6 |
SDIO_DATA2 |
PB_7 |
SDIO_DATA3 |
PB_8 |
SDIO_CMD |
PB_9 |
SDIO_CLK |
PB_13 |
SDIO_DATA0 |
PB_14 |
SDIO_DATA1 |
The RTL8721Dx can also convert to a standard SD card through the designed PCB board, as shown below. Some changes are nedded on RTL8721Dx demo board, please contact us about how to modify the demo board.
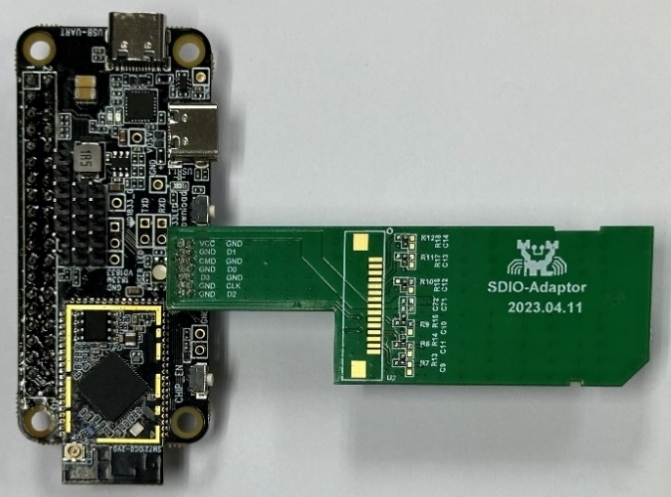
RTL8721Dx SDIO adapter board
The pin layout of RTL8721Dx demo board refers the pin layout of Raspberry Pi and can be directly plugged into the Raspberry Pi demo board.

RTL8721Dx connection with Raspberry Pi
Software Configuration
Software Configuration at Linux Platform
Linux PC
Host driver has been tested and verified to work on Linux kernel version v5.4. If you encounter any compilation errors on other kernel versions, please contact us.
Install build-essential
$sudo apt-get install build-essential
Enter
{SDK}/component/wifi/cfg80211_fullmac/rtl8730e, and execute the following command./sdiobridge_setup.sh
Copy
cfg80211_fullmacfolder to host sideBuild and install host driver as below
$cd {driver_path}/cfg80211_fullmac/rtl8730e
$make
$sudo systemctl stop dhcpcd.service
$sudo insmod sdio_bridge/bridge_sdio.ko
{driver_path}is the path where you put thecfg80211_fullmacfolder.
After these steps, there will be an interface named eth_sta0, which can be found by command ifconfig.
Raspberry Pi
Host driver has been tested on Raspberry Pi 4.
You can use dtoverlay command to configure SDIO on Raspberry Pi, please input the following command in Raspberry Pi:
dtoverlay sdio poll_once=off
The subsequent steps are the same as descripted in Section Linux PC.
Software Configuration at RTL8721Dx
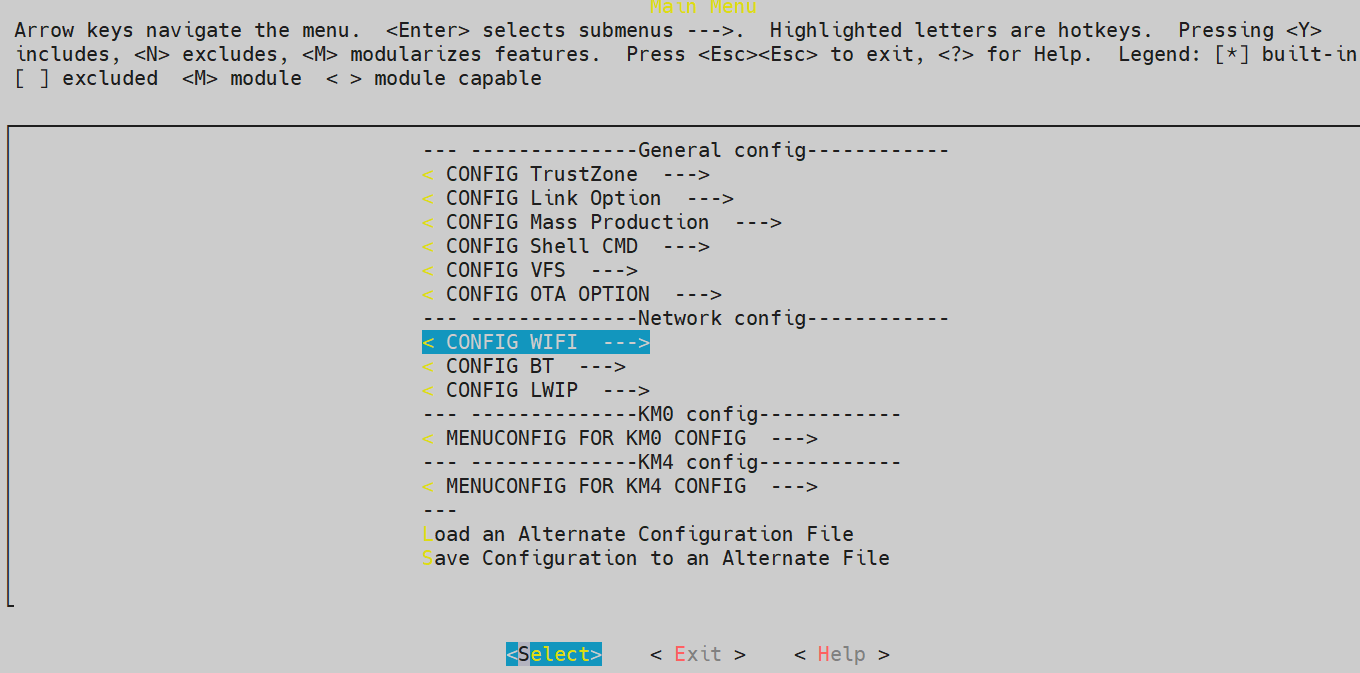
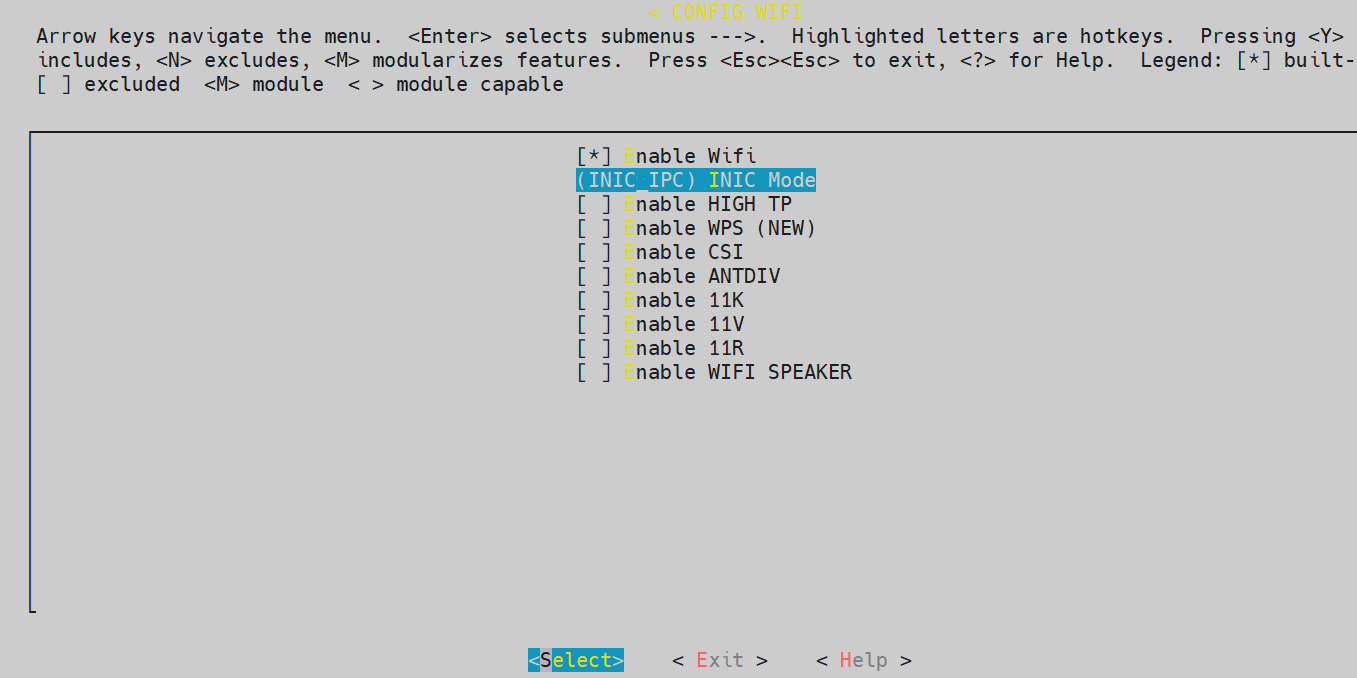
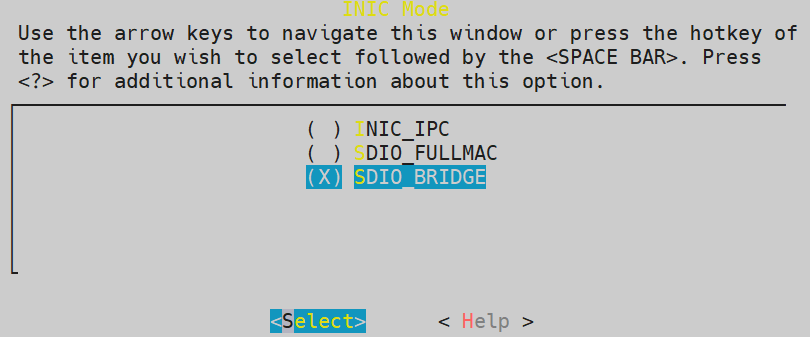
In order to build SDIO bridge image, choose SDIO_BRIDGE in menuconfig according to the following steps:
Enter menuconfig and select CONFIG WIFI
In Wi-Fi menu, select INIC mode
In INIC Mode menu, select SDIO_BRIDGE
testapp Guide
testapp Architecture
The testapp wraps some Wi-Fi commands, such as Wi-Fi connect, Wi-Fi scan, which can be used to control Ameba from host side.
The testapp uses netlink to communicate with SDIO host driver. When SDIO host driver receives related commands, the testapp will inform SDIO device to perform corresponding operation by SDIO interface. The control flow is illustrated below.

testapp control flow
Supported Commands
The supported commands are listed below.
Command |
Description |
|---|---|
wifi_connect param1 param2 |
Used to connect to AP.
param2 can be absent when connect to AP which security type is open. The IP address will also be obtained and configured after successfully connected to AP. |
disconnect |
Disconnect to AP |
scan |
Trigger scan |
scanres |
Get and print scan result |
Command Usage
Copy
sdio_bridge/bridge_apifolder to hostCompile and execute as below, then you can input test commands listed in Section Supported Commands to test
$cd sdio_bridge/bridge_api/testapp
$make
$sudo ./bridge
For example,
./bridge wifi_connect xiaomi_esther 12345678means connect to an AP whose SSID isxiaomi_estherand password is12345678, as shown in Figure testapp control flow.After Wi-Fi connect command executed, the
eth_sta0interface can be shown by commandifconfig, the IP address will also be configured automatically, and this IP address will be the same IP address in RTL8721Dx, as shown in Figure ifconfig result.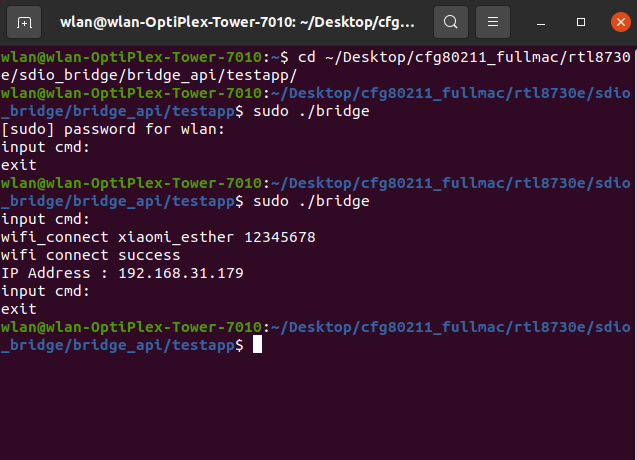
testapp control flow
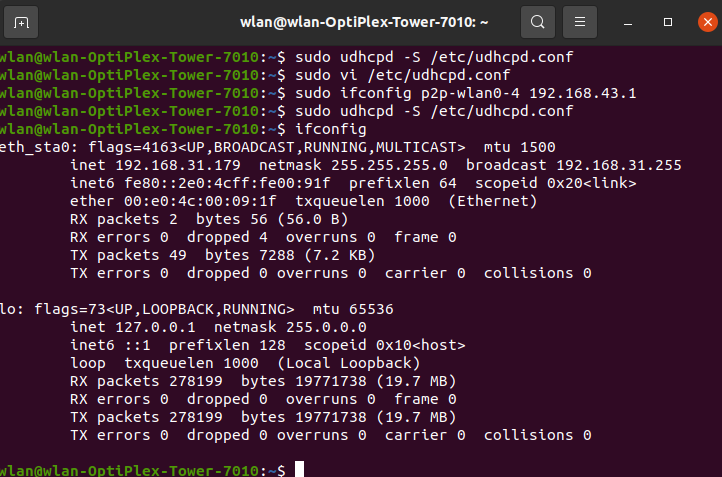
ifconfig result
Operation Flow
The following is a simple operation flow. After configuration as below, data communication can be started.
After make and install host driver as mentioned in Section Software Configuration, and successfully make testapp as mentioned in Section Command Usage, enter sdio_bridge/testapp folder.
Input
sudo ./bridgeto start.Input
scancommand to trigger scan.Input
scanrescommand to get and print scan resultInput
wifi_connect target_ssid passwordcommand to connect your target AP,target_ssidandpasswordin this command will be your target AP’s SSID and password.After successfully connected, use the standard
ifconfigto check the interface, and the IP address will be already configured.
After these steps, data path can be started, you can use the standard ping command or iperf command to test the data path.
Throughput
Item |
Bandwidth 20M |
|---|---|
TCP TX |
42Mbps |
TCP RX |
42Mbps |
UDP TX |
53Mbps |
UDP RX |
52Mbps |
Test conditions:
Image2 running on PSRAM
AP: xiaomi AX3000
Host platform: Linux PC
Memory Consumption
CPU |
Text (B) |
Rodata (B) |
DATA + BSS (B) |
Heap consumed (B) |
|---|---|---|---|---|
KM4 |
570296 |
147510 |
41635 |
677561 |